After much trial and error, I think I have finally come up with a plan for this quilt. The process of figuring out how to embellish and join these blocks required lots of stitching and almost as much unstitching. For some reason, it’s just about impossible (for me, anyway) to envision how embroidery and crochet is going to look on a project without actually doing the stitching. So, on with the plan . . .
Find and Fuse the Appliqués
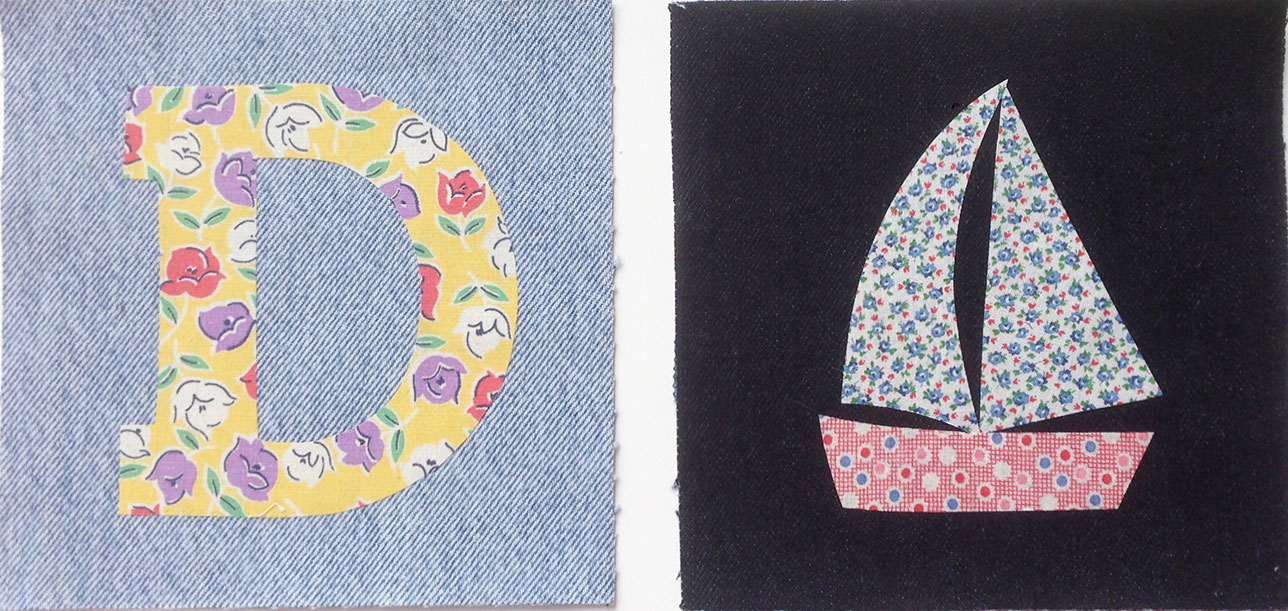
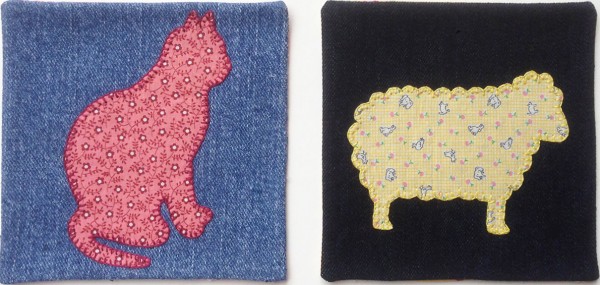
Initially, I thought I would browse through some of my old coloring/paint books for patterns, but even the simple designs were too detailed. Because I wasn’t planning on adding any additional embroidery beyond the blanket stitching, the designs had to be recognizable just by their shape. I ended up using images I found online of silhouettes and die cuts, and some I actually drew myself — a talent I do not possess, but these are pretty simple designs.
With a light fusible web (something you can hand sew through), I fused the design to vintage fabric pieces and then to my denim squares. I just wanted something that would prevent the edges from fraying.
Finish the Edges of the Appliqués
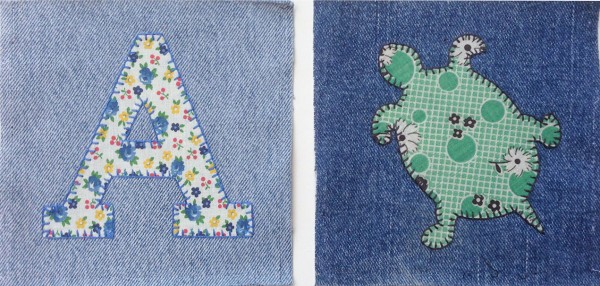
This is regular blanket stitch using a pretty big embroidery needle (to get through the denim and fusible) with 3 strands of floss.
Back the Squares with Cotton Fabric
For backing, I pulled scraps of new, mostly reproduction, fabric from my stash. I didn’t bother sewing up the small open area where I turned the fabric inside out — it’s closed up in the next step. And I know . . . my cat’s ears and tail ended up too close to the edge, but I’m going to try and fudge it.
Blanket Stitch Around the Squares
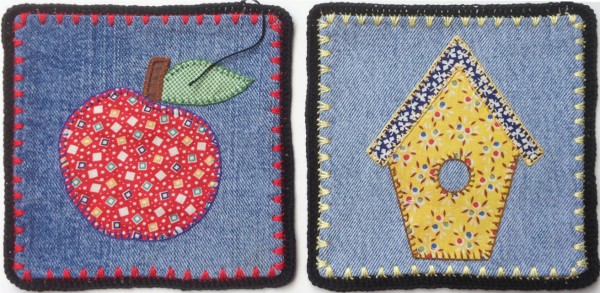
Using Pearl Cotton #5, I grouped three stitches together to make it a little more interesting. It’s important that there are the same number of stitches on each side — I made a template so I could mark dots for each triple blanket stitch.
Crochet a Border Around the Squares
The border is made with double crochets, although I need to maybe add some triple crochets to the corners to make the blocks more squarish, which should make them easier to sew together.
Because there’s a lot of black thread in this quilt, and Pearl Cotton is not cheap, I ordered a large cone of 5/2 mercerized pearl cotton (mostly used by machine knitters and weavers). I think the wpi (wraps per inch) is just a tiny bit less than the DMC#5 pearl, but it should be fine. When I get the new thread, I’ll rip out the borders on these two blocks and replace them.
Sew the Blocks Together (no photo because I freaked out)
Update: Click here for a photo of 16 blocks sewn together.
Honestly, this was the hardest part of this project. Since there are about 50 little stitches on each side of the square, it’s a bit more like joining crocheted bedspread squares than granny afghan squares, and everything is black! I hate sewing black on black!
Eventually I realized, after trying about 8 different techniques for joining my squares, that just sewing them loosely with a whip stitch (appliquéd sides together) worked really well.
I’ll include all the alphabet letters and maybe some numbers, but the pictures will be random — both in the selection and placement. Hopefully I’ll find be able to find at least one picture for each letter of the alphabet, but I don’t really consider this an alphabet quilt, so I’m not going to obsess about it.
This is a pretty fun project because there are so many different steps involved. It takes a while to make each block, but when they’re done, they’re really done. No batting or backing to add, and no quilting of any kind required.

It’s looking good! Makes me want to try using up some of my denim.
This project is adorable! I can’t wait to see the finished project.
I bet this is a fun project with all the different shapes and stitches!
My grandpa used to always brag on his mom bc she was a champ at sewing black on black! Your post reminded me of them both…. 🙂
it looks awesome Martha but I can’t imagine the work with this denim! It’s a totally different challenge but I love that you are tackling it 🙂 You inspire all of us! Hugs and keep on sewing! Mickie
Martha, It’s going to be so cute when done. Love all the blocks. Was it hard to stitch through the denim? I’ve made rag quilts for 2 of my boys (years ago) and they are still used. Must admit, I’ve had to repair the one our grandson uses, but since they are 20+ plus years old they’ve held up through all the washings. Thanks for sharing! 🙂
How cute. Thanks for giving us the benefit of your trial and error should we decide to try one some day.
Sweet blocks! My mom made my little brother a patchwork quilt out of old jeans. So fun!! xo Heather
Very interesting! The appliques are really cute and your construction method is quite creative and fun to here about, what a wonderful project!